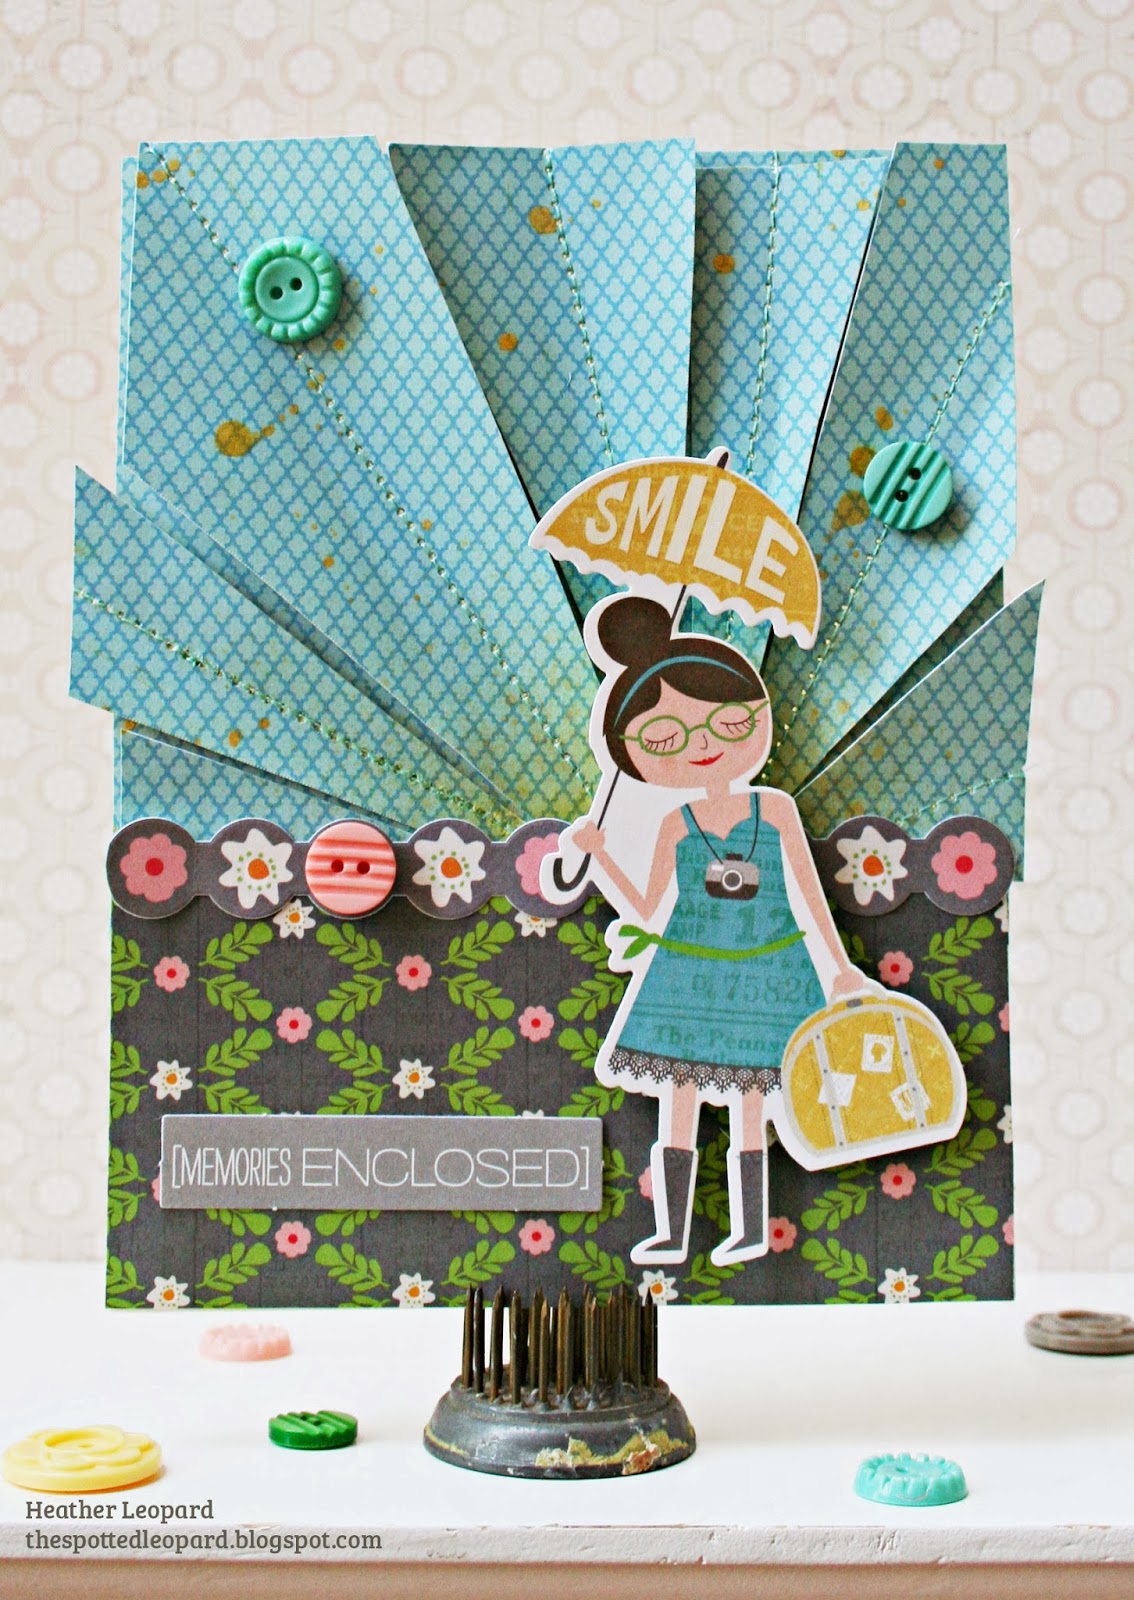
So, I wanted to post this on New Year's Day but in the days leading up to it, I was a busy little bee playing with my girls and planning a fun little NYE celebration with them. So, here I am on January 3rd posting my 2013 scrappy recap.
I love this time of year as everyone (both online and offline friends and family) reflects on the past year. I'd love to share a few scrappy highlights of 2013. Actually,
WARNING: it's a lot of scrappy highlights so get ready for LOTS of photos...
I went to CHA as part of the
Scrapbook Circle team and loved every minute of it! And I'll see many of you there in a little over a week! This fabulous team went to Disneyland and had a crazy fun time. Let's not mention how frightening the ferris wheel was. Did, I mention it swings while it goes round and round at
lightening fast speed? We were doing all sorts of spinning flips (in my head at least).
I got to meet Sweet baby Jane, her beautiful momma
Paige and one of my fave collection designers,
Amy Tangerine.
Now I know I have a picture like the one above with my partner in crime,
Diana, somewhere but for now, this will have to do...
I also got to meet my new cousin, Johnny. My cousin Kim lives in Pasadena with her new little family so I stayed the night when them to visit and meet the little fella. I'm not posting a photo of their little cutie because I haven't asked permission. We did swing by Paige's place while there to drop something off to her and she pointed us in the direction of the house around the block from her where they are always doing commercials. She used to post pics of it all the time on her blog so c'mon, I had to take a look (and snap a photo) since I was right there. Sadly, no production crew that day but I LOVE their red door!
Meanwhile, back at home, it's was such a chilly January. I snapped this photo of my little beauty in her warm winter coat.
Okay, this is not scrap related but it was a DREAM come true! I got to meet my FAVORITE band, Matchbox Twenty, and hug each one of them a few hours before seeing them in concert from the front row. Here's a few of the photos I took, well not the one with me in it. Ahhhhh!!!
In February, I was excited to announce that I was the new Design Team lead for
Lily Bee Design. Fabulous products and an amazing team of designers!
That's me and Kristen and two of my CHA projects behind us. I decided after CHA that I desperately needed bangs! I love Lily Bee products and can't wait for the new releases that are being revealed next week. Until then, here's a layout I created with some of last Winter's CHA collections and exclusives created for Gossamer Blue.
and her most recent We R Family collection, which I'm proud to have contributed to
In February, I braved the freezing cold temps and ventured out to upstate New York. My IRL friend,
Audrey, relocated from Texas to be back home closer to family and I was missing my scrappy time with her.
So, what's a girl to do when her bestest scrappy friend moves far far away? Go crash her scrapbook weekend! Technically I was invited by the hostess with the mostest but I surprised
Sara and
Diana (shown above in the photo with me and Audrey), whether they liked it or not. These are my go to gals and I would be lost without them.
Here's a fave layout I did that weekend and it doesn't even include confetti. Hmmm.
Oh wait, it DID include confetti. Let's just say that confetti is a running joke between us gals now.
This past March, I got to take my girls to Kiddie Park in San Antonio. My grandparents used to take my mom there when she was a child, then they took me there when I was a child and now I got to take my girls there. I'm pretty sure that all of the rides were the same. I think the train was missing but it was such a wonderfully nostalgic time! I created this layout about our trip to Kiddie Park
We also went to an Exotic Wildlife zoo...
I started my second term on the Little Yellow Bicycle team in April. I really enjoyed designing with their products until they were sold late last year.
We also spent lots of time at parks in the warmer April weather...
May was all about the outdoors. We went to the zoo....
and to Moody Gardens. There were butterflies everywhere in the Rainforest.
I got lots of requests to create a tutorial for this layout on the American Crafts blog in May so I did
HERE.
I finally took the plunge and got choppy bangs in July. It was shocking at first but I love them now and I feel 10 years younger!
Scrapbook Circle kits are incredible!!!! I love Lisa's kit and I love working for her as her social media gal. This particular month's kit was perfect for photos of my daughter's dance recital.

In June, we celebrated Father's Day with two amazing daddys. My hubby and my dad.
We road tripped through Texas - Louisiana - Mississippi - Alabama - Florida in July. I was also invited by Lori to join the
Gossamber Blue design team!!!! I had guested for her as part of a Lily Bee Design collaboration. Here's one of the layouts I created:
In July, I made the
American Crafts Design Team again!!! Being on this team is an absolute DREAM, I tell ya!!!! We did a new design team blog hop and I created this layout About Me.
Oh, MB20 came to Houston at the end of July with the Goo Goo Dolls. No meet & greet but hubby spoiled me with front row again. And we made friends with one of their roadies while we were in a lounge at the venue and he got me the set list before the concert. Johnny from Goo Goo Dolls...
Rob from MB20 on the piano singing one of my favorite songs...
In August I was blessed to guest design for
October Afternoon. Oh how I love me some OA!!!
I guested on
Shimelle Lain's blog in September. BTW, congrats on your sweet baby boy, Shimelle! I chose to create a tutorial on how to create a watercolor effect using shaving cream and watercolors. It was all inspired by these photos of my daughter covered in shaving cream during her school's Splash Day!
October meant big birthdays for the 2 little ladies in my life. One hit the double digits
while the baby turned 5. Has anyone figured out how to freeze time yet???
We celebrated with a trip to NYC! We saw Annie on Broadway
and ALL the sights
We went to the American Girl doll store too! The girls still talk about NYC and would LOVE to go back in a heartbeat. They seriously fell in LOVE with the city that never sleeps!
October also meant another scrappy getaway with Diana, Sara and Audrey. I taught a class at Sara's
Crop 'til You Drop retreat. We had a total blast.
Audrey says "Eye see you!"
I created lots of fun layouts while I was there, like these from my October and November
Gossamer Blue kits.
October, November and December were filled with lots of trips to Houston Family Arts Center for my oldest who was rehearsing for her latest play, Wizard of Oz. She was incredible in it. I am soooo proud of this girl. She doesn't let autism and severe ADHD stop her! And the littlest started gymnastics, which she loves! She told me last night that she doesn't like it, she LOVES it! and threw her hands in the air.
I haven't edited the Wiz of Oz photos yet but here's a photo of the actress with her little sister who dressed up as Dorothy to watch her sister perform. Rheagan was the best Munchkin, Jitterbug, Apple Tree (with speaking roles)!!!
I started my December Memories kit at the end of November using the Gossamer Blue December Memories kit. I was also one of the instructors for the month long class.
I am still working on it!
In November, I got to visit Stockholm, Sweden for work. My sweet friend,
Alex and her hubby took me on a walking tour or Stockholm. It was literally freezing at a chilly 32 degrees but I was surprisingly comfortable walking around.
December took me to Dublin, Ireland. It was also chilly but I enjoyed walking around the city with co-workers.
A little Farmer's Market on a Christmasy decorated street.
We got all historied up at Trinity College while looking at the Book of Kells.
Dublin castle was quite pretty
We then walked to the Guinness Storehouse for a tour and eventually graduated from the Guinness Academy. We had to pour the perfect pint in order to graduate. That 2nd one from the left is mine. I took two sips and gave it to Scott. The Guinness in Ireland tastes better than Guinness in the U.S. but it is still too stout for me.
Left to Right: Scott, me, Matt, our teacher and 2 strangers
In December, I did my first video tutorial. Thanks to everyone who has watched it. I am blown away by the number of plays. If you haven't see it yet, here it is again.
Layered Christmas Tree Tutorial from
Heather Leopard on
Vimeo.
Lastly, I created these cute little elves for my girls. I was inspired by our Elves of our shelves. My girls get so sad when the elves have to leave so I made these that they can keep and touch. I made a written tutorial project sheet that can be downloaded
HERE.
My friend Krissy and I needed a good margarita after making those little elves. She had to endure lots of sighs as I was working out all the details and making a pattern.
I also had some publications this year. Here's two of my faves that were published - a 2-pager in Creating Keepsakes
and a mini album for Scrapbook Trends' One Little Album Feature in June:
If you made it this far, all I can say is thanks for sticking with me as I took a stroll down memory lane. That was a lot of photos. I hope it didn't sound boastful because I didn't mean to by any means. I really just loved looking back on the year, reflect on what I could and should improve on for 2014 and just enjoy the memories.
I hope you'll stick around with me in 2014. It's going to be a great year; I can feel it!


 Each little artist will walk away from the party with their own painting but here's an idea to keep their creative juices flowing - watercolor party favors. You can whip these up quickly and easily are their are sure to be a hit! You can even have the birthday honoree write personalized thank you cards and all you have to do is insert them in the water color cases.
 With that, you're all set for for your DIY art party birthday. Follow me on Instagram (@heatherleopard) and I'll post the rest of the party decorations later this month


 You'll need your favorite expressions cut to size from patterned paper, and the awesome embellishments (hello, enamel confetti!) from the Happy Hooray collection plus card bases cut to 8.5" x 11". You can download my Silhouette template for card bases and the die cut words
  Fold your card base in half so it measures 4.25" x 5.5". Cut the words from my cut file found
  Add additional embellishments and enamel confetti for a fun and festive look.
 Wanting to wish someone a very happy birthday? Get your point across with birthday overload. To create this, fold your card base in half and place it in landscape / horizontal in front of you. Add the chipboard "HAPPY" banner across the top. Using that awesome washi again, run a strip across and under the banner to create a border. Then, cut the words "happy" from the repeat stickers in the collection. Just cut it right down the middle so that you have the words "birthday" remaining.
 Find the center of your card and add 5 birthdays stacked evenly on top of each other. I kept the stickers on the backing and was able to easily peel from the side and adhere all 5 on at the same time. Easy breezy. Next, add the words to the right and left, leaving an even gap in the middle. Lastly, fill the gap with candles. Add embellishments as you wish.