Showing posts with label Crate Paper. Show all posts

Wednesday, December 27, 2017

2017 Top 10 Scrapbooking Blog Hop

Hi everyone.  Thanks for stopping by today.  I'm participating in a blog hop with a bunch of talented scrappers and I'm also hosting 2 GIVEAWAYS. I hope to inspire you with fun ideas from some of my favorite projects from 2017 - from scrapbooking layouts to party planning to home decor and more.

Let's take a look at my fave projects and then scroll to the bottom for the giveaways and the next stop on the hop (Tifany DeGough)...

I wanted to use a supersized photo and wanted to create a lei type look.  DOWNLOAD the free cut file and view the tutorial HERE.


Celebrate the Grands | Grandparents Scrapbooking Layout


DIY Art Party Birthday Invitations and Party Favors


I wanted to celebrate the 4th of July with a bang.  The full blog post can be found here.

Milestones Baby Gift | Mini Album

DIY Traveler's Notebook / Mini Album Find out how to make these quick and easy notebooks.

Lucky Charm Scrapbooking Layout and Free Cut File


Hello Beautiful | Simple Life Scrapbooking Layout


DIY Baby Room Decor


Snow Wonderful Tutorial


I hope you are enjoying this hop and that you are soaking up all sorts of inspiration!

GIVEAWAY
I'm giving away one $10 gift certificate to Paper Issues. Here's how to enter:

Giveaway: Follow me on Instagram @heatherleopard and leave a comment on the Top Ten Post. Tag a friend in the Instagram post comments for bonus entries - 1 per friend you tag. You have until December 31, 2017 at midnight CST to enter.

Bonus Entry: Follow me here on my blog and leave a comment on this post.

Now, it's time to visit Tifany DeGough  

Thursday, January 19, 2017

Snow Wonderful

Hi everyone.  Heather Leopard is here doing what I love most...playing with background cut files! This one in particular is the Nordic Background. I used my Scrapbook Circle Everyday Stories December kit and a few snowflake embellishments from Hip Kit Club I borrowed from my friend, Majken.

I altered this cut file just a tad, removing the x's that are part of the cut file so that I could hand stitch them instead.  Then I enlarged it to cover the entire page, removing the lower portion since that was going to be covered by patterned paper. Let me walk you through how I did this...

First, I separated the cut file elements and removed the x's. leaving only the snowflakes and diamonds.  Then, I traced the outline of one of the snowflakes and offset it just slightly, making it a tad bit larger than the background cut.

Then I cut the outline of the snowflakes out of different patterned papers and....

adhered them randomly behind some of the snowflakes to the back of the large cut file. Then I hand stitched the x's back into place.


I didn't have enough variety of the blue-ish patterned paper so I pieces of packaging for the back of the letters.


That's just my way of using cut files (like Nordic Background) to make unique layouts.

Friday, October 21, 2016

Ballerina Girl

Hi friends, I'm here to talk to you today about layering.  I love how layers help add so much dimension to your layout and helps draw your eyes around the page.  I thought that I'd spend some time today walking you through my process for creating this layout.

To get started, select 5 - 6 coordinating pattern papers.


Trim your pattern paper to 6" long x anywhere from 1/2" to 1 1/2" high.  Lay them on the right half of the page, overlapping here and there until you are happy with how it looks.


Stitch across the middle of each paper strip. This will allow them to lift up just a little for some fun dimension. Add even more layers on the layers using embellishments like die cuts, sentiments, chipboard and more.


In the upper half of the layout, place your photo. Choose chipboard, die cuts, stickers, tags, etc. and start placing them under, around and over your photo. Start sticking it down once you like the design. I usually take a photo of the layout so that I don't have to think about the design again during this stage.  I just look at my phone and adjust here and there.

Next cut large letters for your title using the same coordinating patterns as your paper strips.  I used my Silhouette CAMEO but you could easily hand cut the letters.


Place your title down the left side of the page. Stitch them down like you did your strips. You could even add a few embellishments over your letters for even more layers.

Don't think too hard about your layers. Just start shuffling them around and around until you like how it looks and then commit.

Thursday, September 8, 2016

Hello Sweet Girl

Hello, my friends. I am sooo in love with the new Crate Paper Cute Girl collection.

I have this photo of my precious littlest girl playing dress up with a bouquet of flowers, mostly white dress and a veil so I was quite inspired to keep a lot of white for this particular layout.


I used white cardstock to cut a white wreath of flowers using the JustNick Studio Floral Wreath cut file and a white doily, from the Nana's Doily Background cut file.


I added a pop of color with the embellishments around the wreath. I used a mix of cut file alphas and an embellishment to create my title, cutting the word "sweet" out white cardstock, using the Simple Set Alphabet cut file from JustNick Studio.

Monday, March 28, 2016

Ooh la la

Hi there.  For this month's Pattern Play over at Gossamer Blue, I chose to walk you through the creative process of how I use busy patterned papers when I scrapbook.


Supplies: March 2016 Main kit, Main Add-on #2, Bits & Pieces

How to:
I especially love the 12×12 Delighted and Fresh papers from the Maggie Holmes Bloom collection. I couldn’t decide which one to use so I decided to cut a few of my favorite chevrons and line them coming down from the top and up from the bottom so they’d meet about 3/4 of the way up.

I then layered several coordinating papers behind my photo and placed it where the chevrons met. For some, this would leave a lot of lovely white space and while I love the look when others do it, I never can seem to make it look as good. So what did I do? I pulled the other patterned paper, Fresh, back out of my stash.

It’s a busy paper with lots of journaling cards so I cut straight down each of the divided lines and literally placed each new 3×12 sheet to the right side of the paper until I found the perfect one. Realizing the page might be a little off balance, I cut a larger and smaller 12″ strip and adhered it to each side of the page. Then I adhered the entire 3×12 journal cards sheet to the page. Now this page was speaking to me AND I got to use bits from both of my favorite busy patterns.


The next step in my process was to fill in around those layers below my photo.  I tucked a large XOXO gold glitter die, a ticket stub, flowers, leaves, you name it.  I just tucked and tucked,using regular adhesive and foam adhesive for added dimension.


While the sentiments on the journaling cards would work well for the title, I really wanted the title to reflect my girl’s fashion sense, hence the “ooh la la”. Last but not least was my journaling and a few more embellishments in the top and bottom corners of the page.

My tip for working with busy patterns is to use them in moderation. I love the challenge of finding a way to use multiple patterns in an understated way. Thanks for stopping by today.  Now go on and get scrappy!

Saturday, February 13, 2016

Shine Bright My Love

Hello everyone!  I'm so excited to be participating in the Clique Kits / Just Nick team-up and to welcome you to my blog. Today I'm sharing one of my most favorite layouts that I've created in a long time. I mean it is the new Crate Paper Maggie Holmes Shine collection afterall.

I showed a sneak of it last night on Instagram (@heatherleopard) and now you can see the full details here.  Come take a look...


If you are new to my blog, let me tell you a little about me.  I kind of sort of like to create fun backgrounds for my layouts. Whether it's repeating a pattern or paper piecing, it's just my thing. My signature style so to speak.  When I saw the exclusive cut files Nicole created for this team-up, I had this fun idea for using the zebra cut file. Do you ever have an idea but you're just not sure if it will turn out the way you have envisioned it in your head? That was me with this one.

The only thing I knew for sure about this layout was the photo of my oldest and the patterned zebra background.  As I was looking through the cardstock stickers, the "SHINE BRIGHT" stickers jumped out and landed on my page.  How perfect for this ray of sunshine holding a lit up heart.

How to:
  • Cut the zebra cut file out of white cardstock. Keep the strips that you are not using and set them aside.
  • Use the strips you set aside to serve as a guide for cutting the pattern paper.  Make sure to leave about a 1/4" edge around the cut so that you can adhere it to the back of the cut file.
  • Once all are adhered, stitch over the white cardstock.
  • Add some layers of paper behind your photo, leaving a pocket for a journaling tag.
  • Add sentiment stickers to the top right and an array of flowers on the bottom and around the sides. Adhere some to the photo/page and use foam adhesive to others for dimension.
  • Add your title in one of the open spaces. I chose the middle left tucked into the flowers.
  • Add an embellishment cluster to the top left of the page to balance it out.

Turns out that this layout is one of my most favorite that I've created in a long time.  I hope you enjoy it as much as I do.

Make sure to follow me if you are on Instagram (@heatherleopard). I have several giveaways planned this year (with one coming up this next week).

You don't want to miss my sketch challenge HERE for a chance to win a prize package of Crate Paper Shine and We R Memory Keepers.

Take a look at what the designers for Clique Kits and Just Nick did for the team up.  Melissa Vising is up next but you can find the entire hop below

Clique Kits | Me! | Melissa Vining | Suzanna Lee | Leigh Ann Odynski | Melissa Elsner | Carolina Schulz | Jaclyn Rench | Aliza Deutsch | Diana Waite | JustNick Blog


Thursday, January 14, 2016

Our Love is Like XO

I’m making a bold statement about the love of my life in this month’s Pattern Play over at Gossamer Blue. Let's take a look at what at least 10 different pattern papers, two bold letters and one photo in the shape of a heart looks like...

We were taking a selfie on our recent anniversary trip to Greece and I snuck in for a smooch on the cheek to change things up. As I was looking through the Gossamer Blue January kit, I just kept singing along to the Beyonce XO song. I really only know one line from it but I couldn’t get it out of my head so naturally, I made it into a layout featuring that smooching selfie.


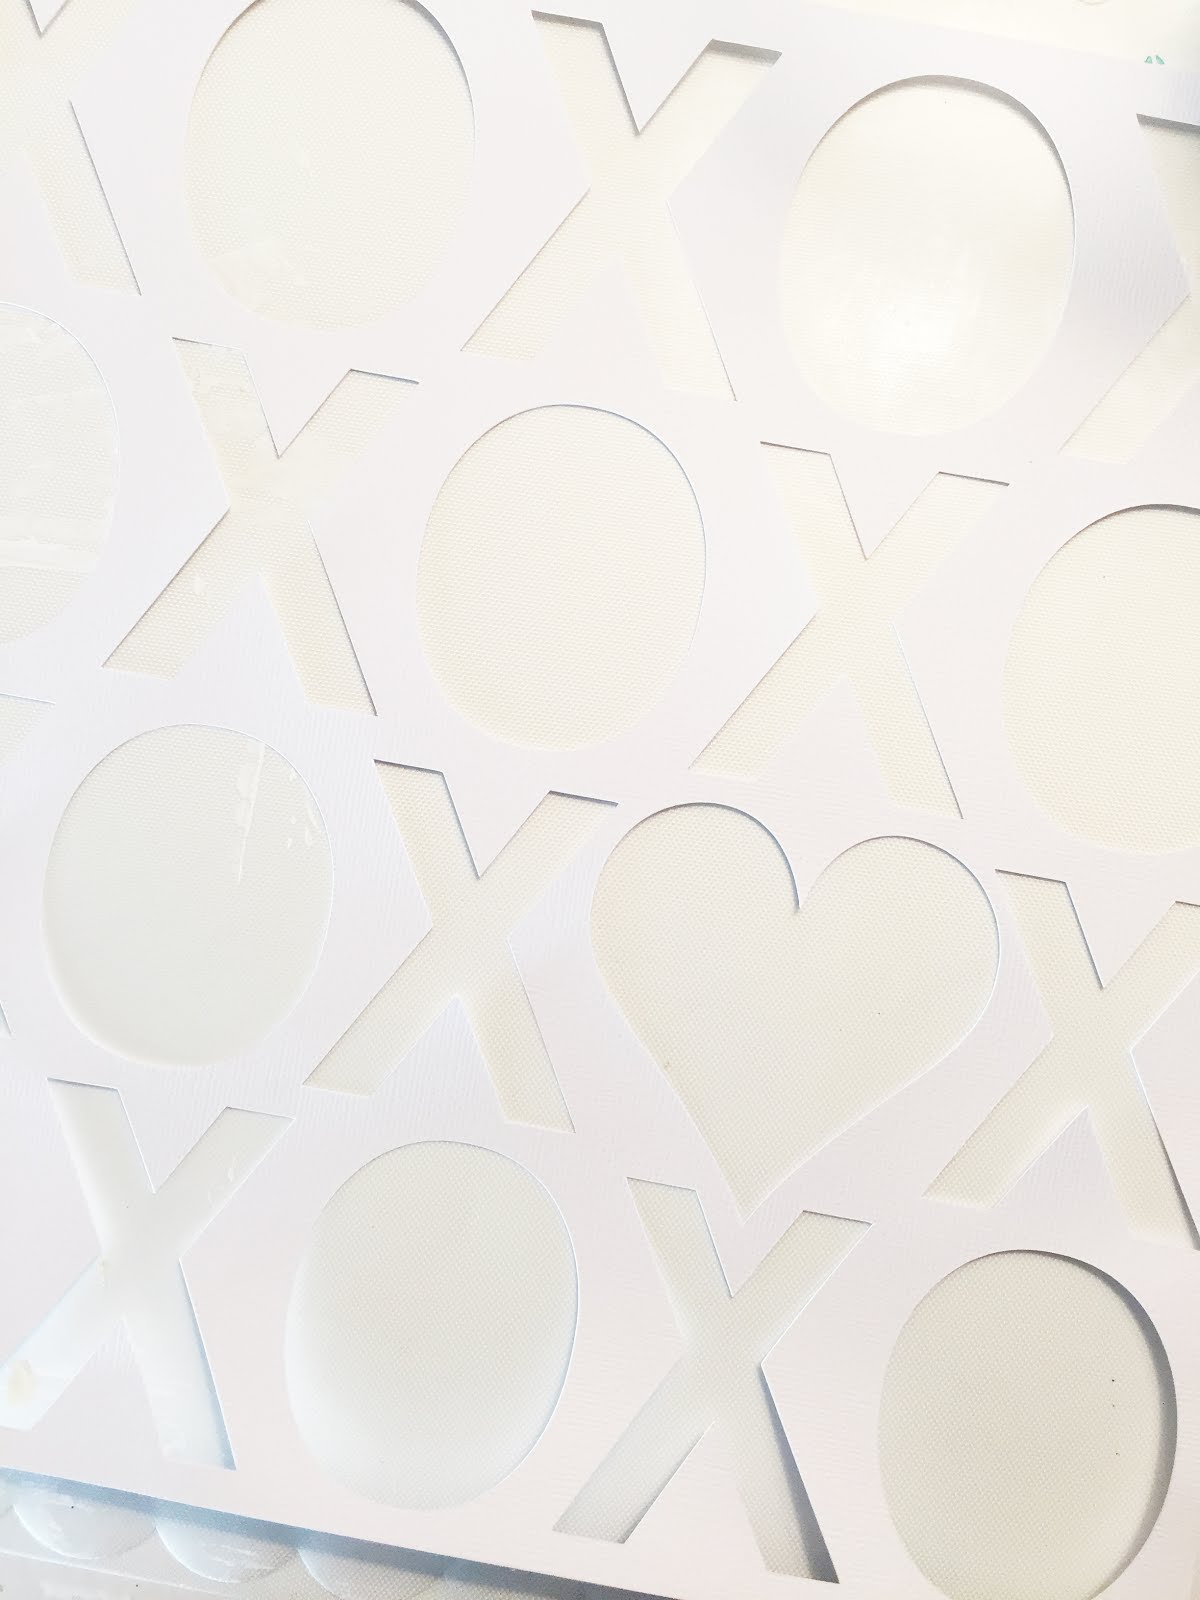
I cut out 5 X’s and O’s across and 4 X’s and O’s down, leaving space for a heart among them. I made the heart a tad bit bigger than the X’s and O’s so that I could have as large a photo as would fit.

Next, I took an X and O from the cut outs and used them as a template to cut out the pattern paper. I cut them about ¼” larger than the X and O so that I could add glue to the overage and adhere to the back of the XO overlay.


I did the same for the photo. I determined where I wanted it placed, added the heart cut out back in and then cut it out with a 1/4" edge for adhering to the back of the layout.


Once each X and O was adhered, I stitched around the edges. Most were done by a machine but I reserved a few special ones to add hand stitching.


The X’s and O’s were feeling a bit “eh” so I embellished them with alphas for a title, puffy stickers, buttons, flair, enamels, stickers, etc. I even added my journaling in one of them.

Thanks for stopping by today. I hope this inspires you to pull out your die cutting machine and go a little bolder with this month’s kit.

Supplies: Gossamer Blue Main kit, Main Add-on, Main Add-on 2, Life Pages kit, Life Pages Main Add-on, Life Pages Add-on 3, Bits & Pieces

Monday, January 4, 2016

Hello Love!

Happy New Year!!!

Oh my, Lori is starting 2016 off with a BANG!  I am loving the Gossamer Blue January kit so, so, so much.  It's filled with Crate Paper, Heidi Swapp and Goldie from Seven Paper, need I say more?


Oh hello, lovely Crate Paper, how do I love thee?  Let me count the ways!  Seriously, I am a nut about paper piecing backgrounds and this paper did all the work for me.  This is all from the Main January kit only and I just love it.  I think it's my favorite main kit only layout I've ever done.


I take a photo of my littlest every morning. I usually take one on the 1st day and last day of school and think "wow, she really changed so much this year."  Well this year I will do that but I plan to do a short video that shows the progression every day from the first to last day. Anyway, she always gives me the "standard" pose and then if she's not in a rush to get to her friends at the bus stop she'll give me some poses.  Today it was blowing kisses.


This crazy busy and oh so fun background paper was so fun to work with.  It made creating a breeze, adding my photo and a few embellishments in a matter of minutes. A lot of minutes but much faster than usual.

Anyway, I hope everyone has an amazing 2016!  I have lots of great things planned here this year so stay tuned and thanks for stopping by today.

Wednesday, December 2, 2015

Remember to Dream

I feel like a broken record but I LOVE this month's Gossamer Blue kit.  I mean Crate Paper / Maggie Holmes SHINE! And Seven Paper, Pink Paislee - SWOON!

I created this layout using only the elements of the Main kit.


So apparently my beloved printer doesn't support my PC upgrade so I resorted to my Canon Selphy and discovered it doesn't support my PC upgrade either.  This is a scrapbooker's nightmare.  Luckily, I had my Instax printer so the photo is a little smaller than I'd like and I had to rework the layout idea I had but it saved the day and I like how it turned out.


I love, love, love the ephemera so I decided to layer the tags and bits and pieces.


The title was an absolutely breeze, mixing and matching words from the ephemera pack and a few alphas.

I think you'll love this kit just as much as I do.  Get yours from the Gossamer Blue store before they're gone.

Friday, September 18, 2015

Always a Mermaid

Hello everyone!  I'm excited to show you this project today.  My dear friend, Nicole, asked me to guest for her cut file store, Just Nick. Loving her cut files the way I do, I jumped at the opportunity!  And when she told me she'd be giving away a FREEBIE file of my choice, I immediately knew what I wanted to do!

My littlest has wanted to be a mermaid for as long as I remember.  From Halloween to pretending in the pool to being buried in the sand in the shape of a mermaid so I just knew a mermaid inspired cut file was needed.


It’s inevitable every year that we go to the beach, Little Miss asks to be buried in the sand so she can pretend she’s a mermaid.  She often makes little ocean friends, like crabs and turtle out of sand to pretend with. When Nicole asked said she’d design a free cut file of my choice I knew it had to be ocean themed and the scales were PERFECTION.  I chose to use the background for 2/3 of my page, leaving the top 1/3 more simple to help balance the page.


I chose a more labor intensive design for this page but the great thing about background cut files is that you can back it with one or many patterns. I used papers from a 6”x6” paper pad with smaller patterns to fill in the scales.  I simply laid the paper behind the background cut file, traced around the outer cut, hand cut each piece and then adhered it to the back. Then I added photos, embellishments, the title and a cute little quote about being a mermaid.

Remember how I said this cut file was a FREEBIE??? Head over to the Just Nick blog right now. Don't wait and download the file before it's gone.  This is a limited time only offer.  OH! Tell her Heather sent you! 

I created another layout using her butterfly background which I'll have her on my blog in a few days.  It's on the Just Nick blog now in case you want to see how I used that file to create a special layout about this same little sweetie!

Thanks Nicole for having me.  Let's do it again!